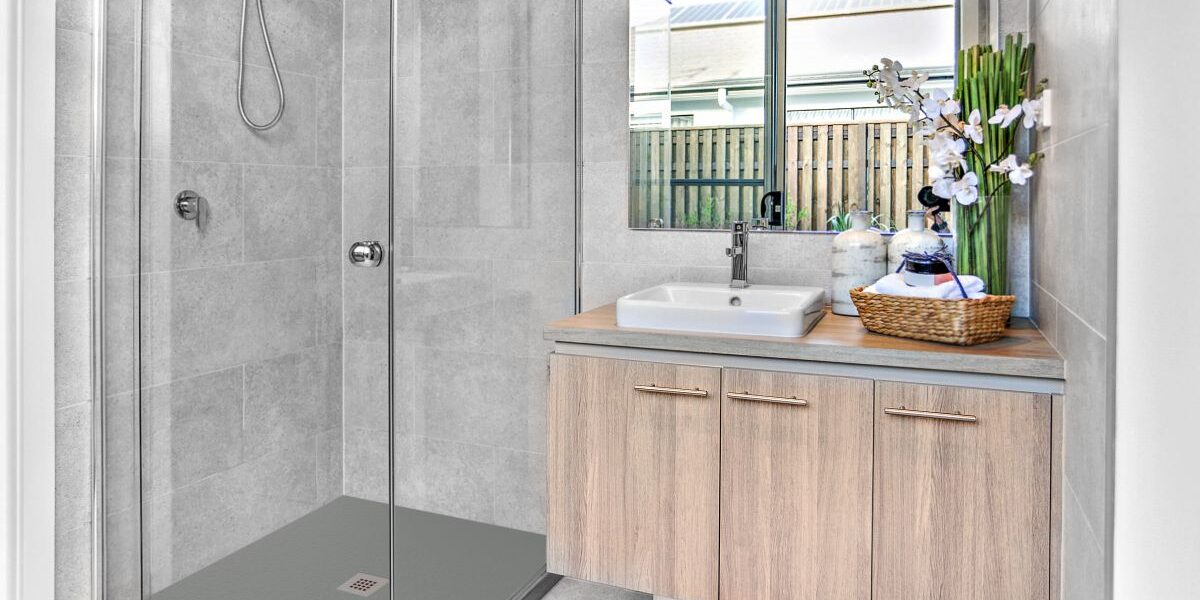
Are you considering upgrading your bathroom to a sleek and modern space? Replacing your bathtub with a shower tray can be a game-changer, not only enhancing the aesthetics but also adding functionality to your bathroom. In this comprehensive guide, we will take you through the entire process, from initial planning to the final touches, ensuring a successful installation.
Why Replace Your Bathtub with a Shower Tray?
Here are the reasons why is a popular choice for many homeowners:
- Space Optimization: shower trays are more space-efficient compared to traditional bathtubs, making them ideal for smaller bathrooms or those looking to maximize space
- Accessibility: showers are often more accessible for individuals with mobility issues or those who prefer the convenience of a walk-in shower
- Modern Aesthetics: shower trays come in a variety of styles and designs, allowing you to create a contemporary and visually appealing bathroom.
Now, let’s dive into the steps to replace your bathtub with a shower tray:
Step 1: Planning and Preparation
- Measurements: begin by measuring the dimensions of your existing bathtub space to determine the appropriate size for your new shower tray
- Selecting the Right Shower Tray: consider factors such as size, shape, and material (acrylic, fiberglass, stone resin) when choosing a shower tray that fits your needs and preferences
- Plumbing Considerations: assess the existing plumbing layout to ensure compatibility with the new shower tray installation
Step 2: Removing the Bathtub
- Turn Off Water Supply: shut off the water supply to the bathroom before starting the removal process to avoid any potential leaks or accidents
- Disconnecting Fixtures: disconnect the bathtub fixtures, including the faucet, drain, and overflow assembly, using appropriate tools
- Removing Surrounding Tiles: if your bathtub is surrounded by tiles, carefully remove them to expose the walls and floor beneath
Step 3: Installing the Shower Tray
- Preparing the Subfloor: ensure the subfloor is clean, level, and free of any debris before placing the shower tray
- Positioning the Tray: carefully position the shower tray in the designated space, ensuring a snug fit against the walls
- Securing the Tray: use a suitable adhesive or mortar to secure the shower tray in place, ensuring it is level and stable
Step 4: Connecting Drainage and Plumbing
- Installing the Drain: connect the shower tray drain to the existing plumbing system, ensuring a watertight seal to prevent leaks
- Testing for Leaks: run water through the shower tray to check for any leaks or drainage issues, making adjustments as necessary
Step 5: Finishing Touches
- Sealing Joints: apply silicone sealant along the edges of the shower tray to create a waterproof barrier and prevent moisture penetration
- Installing Surrounding Fixtures: reinstall any surrounding fixtures, such as shower doors or panels, to complete the installation process
- Final Inspection: conduct a final inspection to ensure everything is properly installed and functioning correctly before using the shower
By following these step-by-step instructions, you can successfully replace your bathtub with a shower tray, transforming your bathroom into a modern and functional space that you’ll enjoy for years to come.


